Oracle Cloud EPM – Integrating Consolidation and Close with Planning
Jazmin Ribeiro
Brovanture Consultant
In this blog I will take you through setting up in Oracle Cloud EPM – integrating Consolidation and Close as the source and Planning as the target. We are pulling the Actuals for P&L, Balance Sheet and Cashflow.
I will mostly be using the Oracle Data Exchange tool, however there are a couple of steps which still need to be completed in Oracle Data Management. This blog assumes basic knowledge of Oracle Data Management.
Step 1: Create a Target Application
Firstly, I will be creating a connection to the Test Consolidation and Close (FCC) environment.
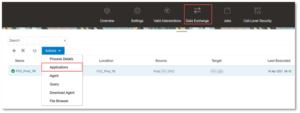
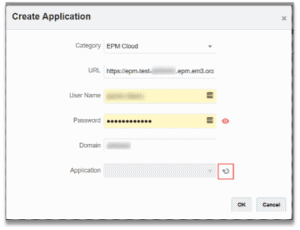
Enter the following
- FCC URL in the format: https://epm-test–[domain].[datacentre].oraclecloud.com
- Admin username and password for logging into FCC
- Identity domain e.g. a123456
Click the refresh icon
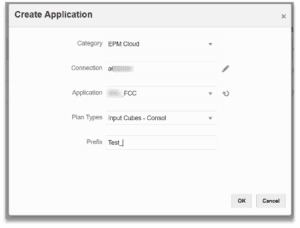
Select the FCC Plan type and enter a prefix which will help to distinguish the connection between the Production and Test environments.
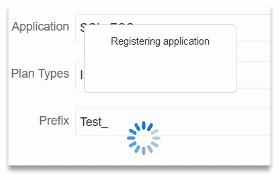
The application will be registered.
The Test FCC application now appears in the Application section:
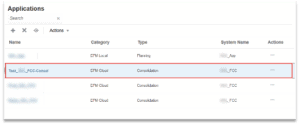
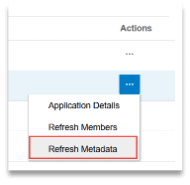
From Actions, use Refresh Members to ensure the metadata is up to date.

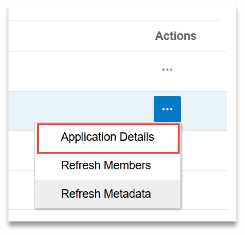
Go to Application Details
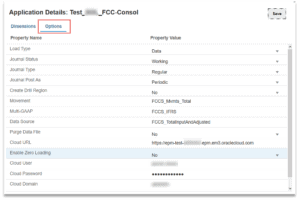
Since I want to load data, the Load Type is set to Data and I’m ignoring the Journal options.
Select whether you need to enable Drill Region.
Movement, Multi-GAAP, Data Source – I have selected members from each of those dimensions. To be honest, I’m not entirely clear on the purpose here since we define the filters for these dimensions later on.
Select whether you need to enable Zero Loading
Check the credentials and URL again and save changes.
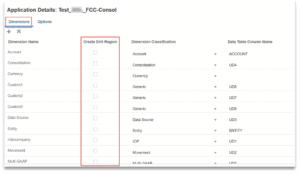
If you have set Drill Region to Yes, go to the Dimensions section and check the dimensions you wish to enable drill through for:
Step 2: Go back to Data Management to create your Import Format
Until Data Exchange gets 100% parity with Data Management, we still have to do a few tasks in Data Management, namely the Import Format, Location, Period Mappings and Category Mappings.
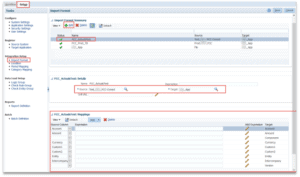
From the Setup tab > Import Format, create an Import format choosing the FCC application as the source and the Planning application as the target, then map the dimensions from FCC to Planning.
Step 3: Create a Location
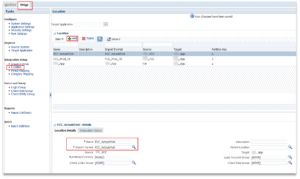
Staying in Data Management, move onto the Location and create a new one, associating it with your Import Format.
Step 4: Create/Check Period mappings and Category mappings
I will be using the default Global period mappings, however if you need to create custom period mappings, you can create these in the Source mapping tab.

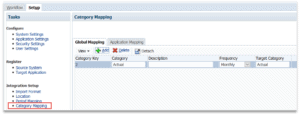
In Category mapping, I have created one for the Actual Scenario as this is the Scenario we are pulling from FCC.
Step 5: Return to Data Exchange and create the integration
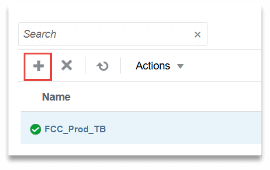
From Data Exchange, select + to create a new integration.
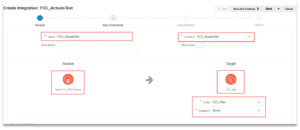
Enter a name for the load rule and select the Location you just created.
Click on Source and select the FCC application, then click on Target and select the Planning Application, Cube and Scenario (Category).
Click on Save and Continue.
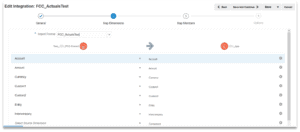
Map dimensions: This should be prepopulated since we created the Import Format before.
Click on Save and Continue.
Map Members: Create the Data Load mappings for each dimension (ignoring Data)
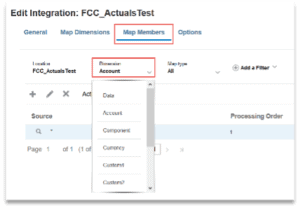
For example, to create a Like mapping:
Click on the +, click on the Source icon and select Is Like
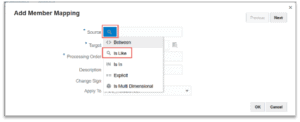
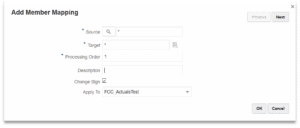
Use wild characters to define the source and target, here the FCC and Planning Account codes are the same so we are using * to * mapping.
If you have multiple mappings, you can specify the processing order in which the mappings should take place.
Select whether to change the sign.
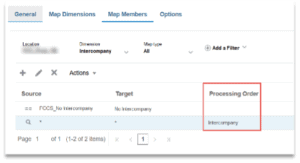
If you opt to create mappings in the old Data Management, you might notice the rule name coming through in the Processing Order.
Mappings will be executed in the following order:
Explicit, Between, In, Multi-Dimensional, and Like. Within Between and Like types, mappings can overlap. The processing order will be used if you have multiple mappings of the same type, it will be evaluated in Alphabetical/Numerical order.
Options – Filters: Add the filters which should be applied to the FCC dimensions. Ideally just pull level 0 data. Below we are pulling P&L, Balance sheet and Cashflow for all currencies.
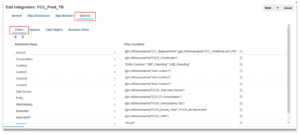
Options – Options: In our case, the Cashflow is dynamically calculated in FCC, so to pull the data, we need to enable pulling Dynamic calc members.
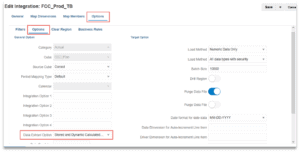
Word of warning: I experienced an issue where even though pulling Dynamically calculated data was enabled, the data was not pulling through into the workbench. Eventually I discovered that the reason was because there were no stored members in the cashflow intersection in FCC so there were no blocks for the integration to retrieve!
Once we ensured blocks were created for the cashflow intersection in FCC, the dynamically calculated data came through.
Clear Region: You can use Clear Region to clear sections of the Planning database before the data is loaded
Business Rules: Here you can specify rules to run Before/After Import and Before/After Load.

That’s all folks, your integration is ready to run, simply click on the Play button and select the Import/Export mode and periods.

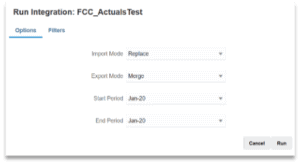
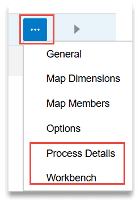
To view the Workbench or see Process Details, use the … button
Until next time 😊
Jazmin
You can read many other useful Oracle Cloud EPM and NetSuite ERP blogs posted by my colleagues at Brovanture here


 +44 (0)1483 685450
 contact us